Water damage is stressful enough without the paperwork — but here's the reality of insurance claims: the claim is only as strong as its documentation. An adjuster can't approve what they can't verify, and "there's water damage in the kitchen" verifies nothing. What moves a claim forward is evidence — where the leak was, what caused it, when it started, and proof that you acted promptly. Professional leak detection produces exactly that evidence package: pinpointed location, diagnostic readings, dated photos, and a written report that reads like a factual record rather than a homeowner's best guess. This guide covers the documentation that supports a claim in 80023, the sudden-versus-gradual distinction that shapes how claims are evaluated, and how to work with your adjuster effectively. General guidance only — this isn't legal or insurance advice, and your policy's specific terms always govern. For the documentation itself, our 80023 leak detection service provides claim-ready reporting on every visit.
Why Documentation Decides Claims
Adjusters evaluate claims against policy language, and policy language revolves around facts: what failed, where, when, and whether the damage was sudden or long-developing. A homeowner's account — "I noticed the stain last Tuesday" — is a starting point, not evidence. A professional detection report that states the leak's precise location, the diagnostic readings that confirmed it, and the observable condition of the surrounding materials is evidence. The gap between those two is often the gap between a smooth claim and a disputed one.
There's a second, practical reason documentation matters: memory fades and details blur. Six weeks after the event, you'll struggle to recall exactly which wall was damp first or how quickly the stain spread. A dated report with photos freezes those facts at the moment of discovery. When the adjuster asks — weeks later — when the damage started and how you responded, you answer from the record, not from recollection.
Sudden Vs. Gradual: The Framing That Matters
Most homeowner policies draw a sharp line between sudden, accidental water damage and gradual damage from long-term seepage — and claims live or die on which side of that line the facts fall. Understanding the distinction helps you document the right things from the start.
- Sudden damage comes from an abrupt failure: a supply line that bursts, a connector that lets go, a water heater tank that ruptures. The timeline is short — hours or days — and the cause is a discrete event. Documentation focus: when you discovered it, how quickly you acted, and evidence of the failure point itself.
- Gradual damage develops over weeks or months: a pinhole leak misting inside a wall, a slow slab seep undermining flooring, a valve weeping into soil. The timeline is long, and the damage often exceeds the leak itself. Documentation focus: when symptoms first appeared, what investigation you undertook, and proof of prompt professional response once discovered.
Here's what many homeowners miss: a leak can be gradual in origin but sudden in discovery — a pinhole that's been misting for two months behind a wall you never open. The detection report's timeline section is where this gets established factually: the condition of materials, the extent of spread, and the technician's assessment of duration based on physical evidence. That professional timeline carries weight a homeowner's estimate can't. Again — your policy's terms govern how these categories apply; this is general guidance about what to document, not advice about coverage.
The Documentation Package That Supports A Claim
A claim-ready documentation package has six components. Gather all of them:
- The pinpointed leak location. Not "the kitchen wall" — the specific pipe section, marked and photographed. Precision here prevents disputes about what failed.
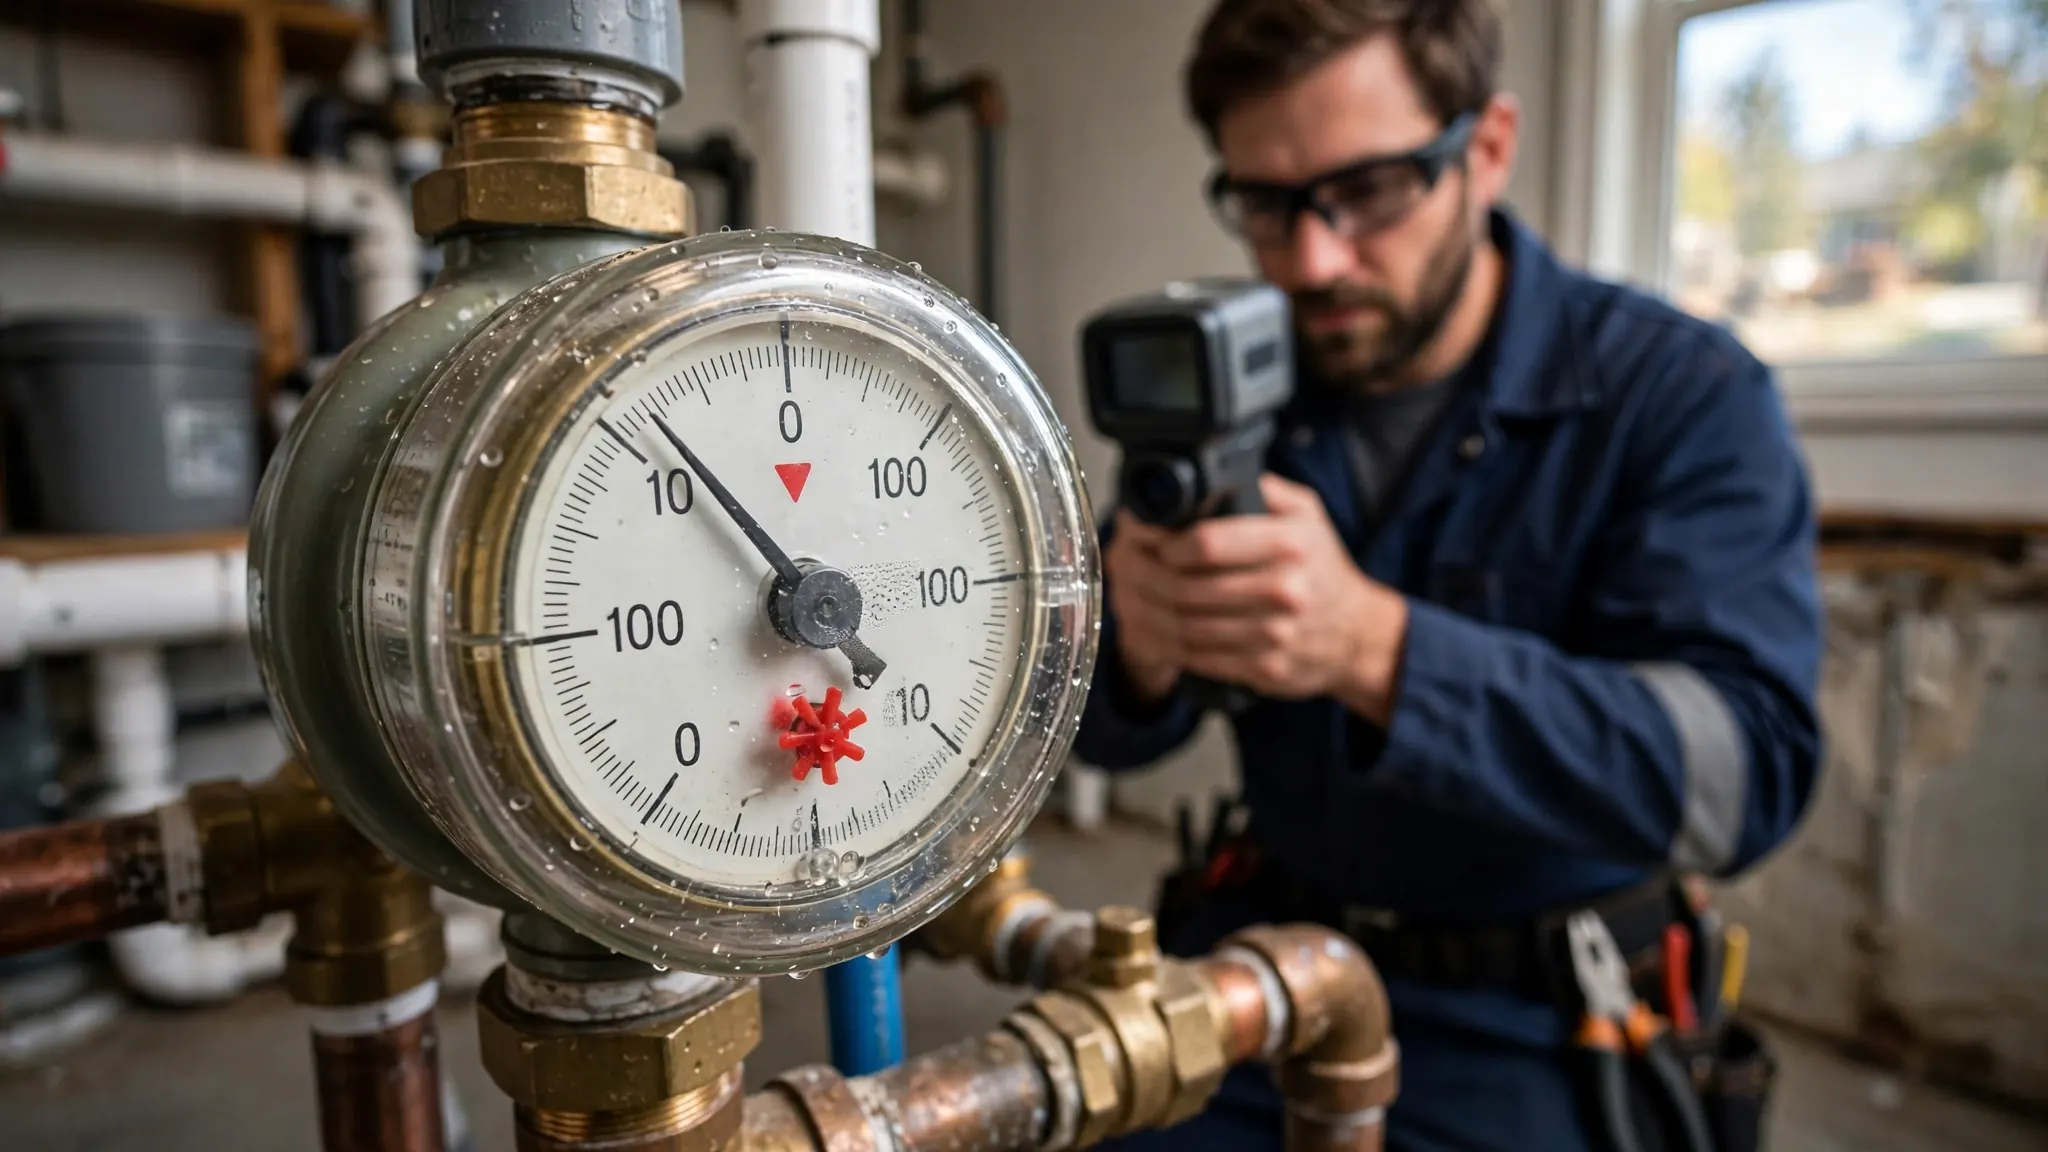
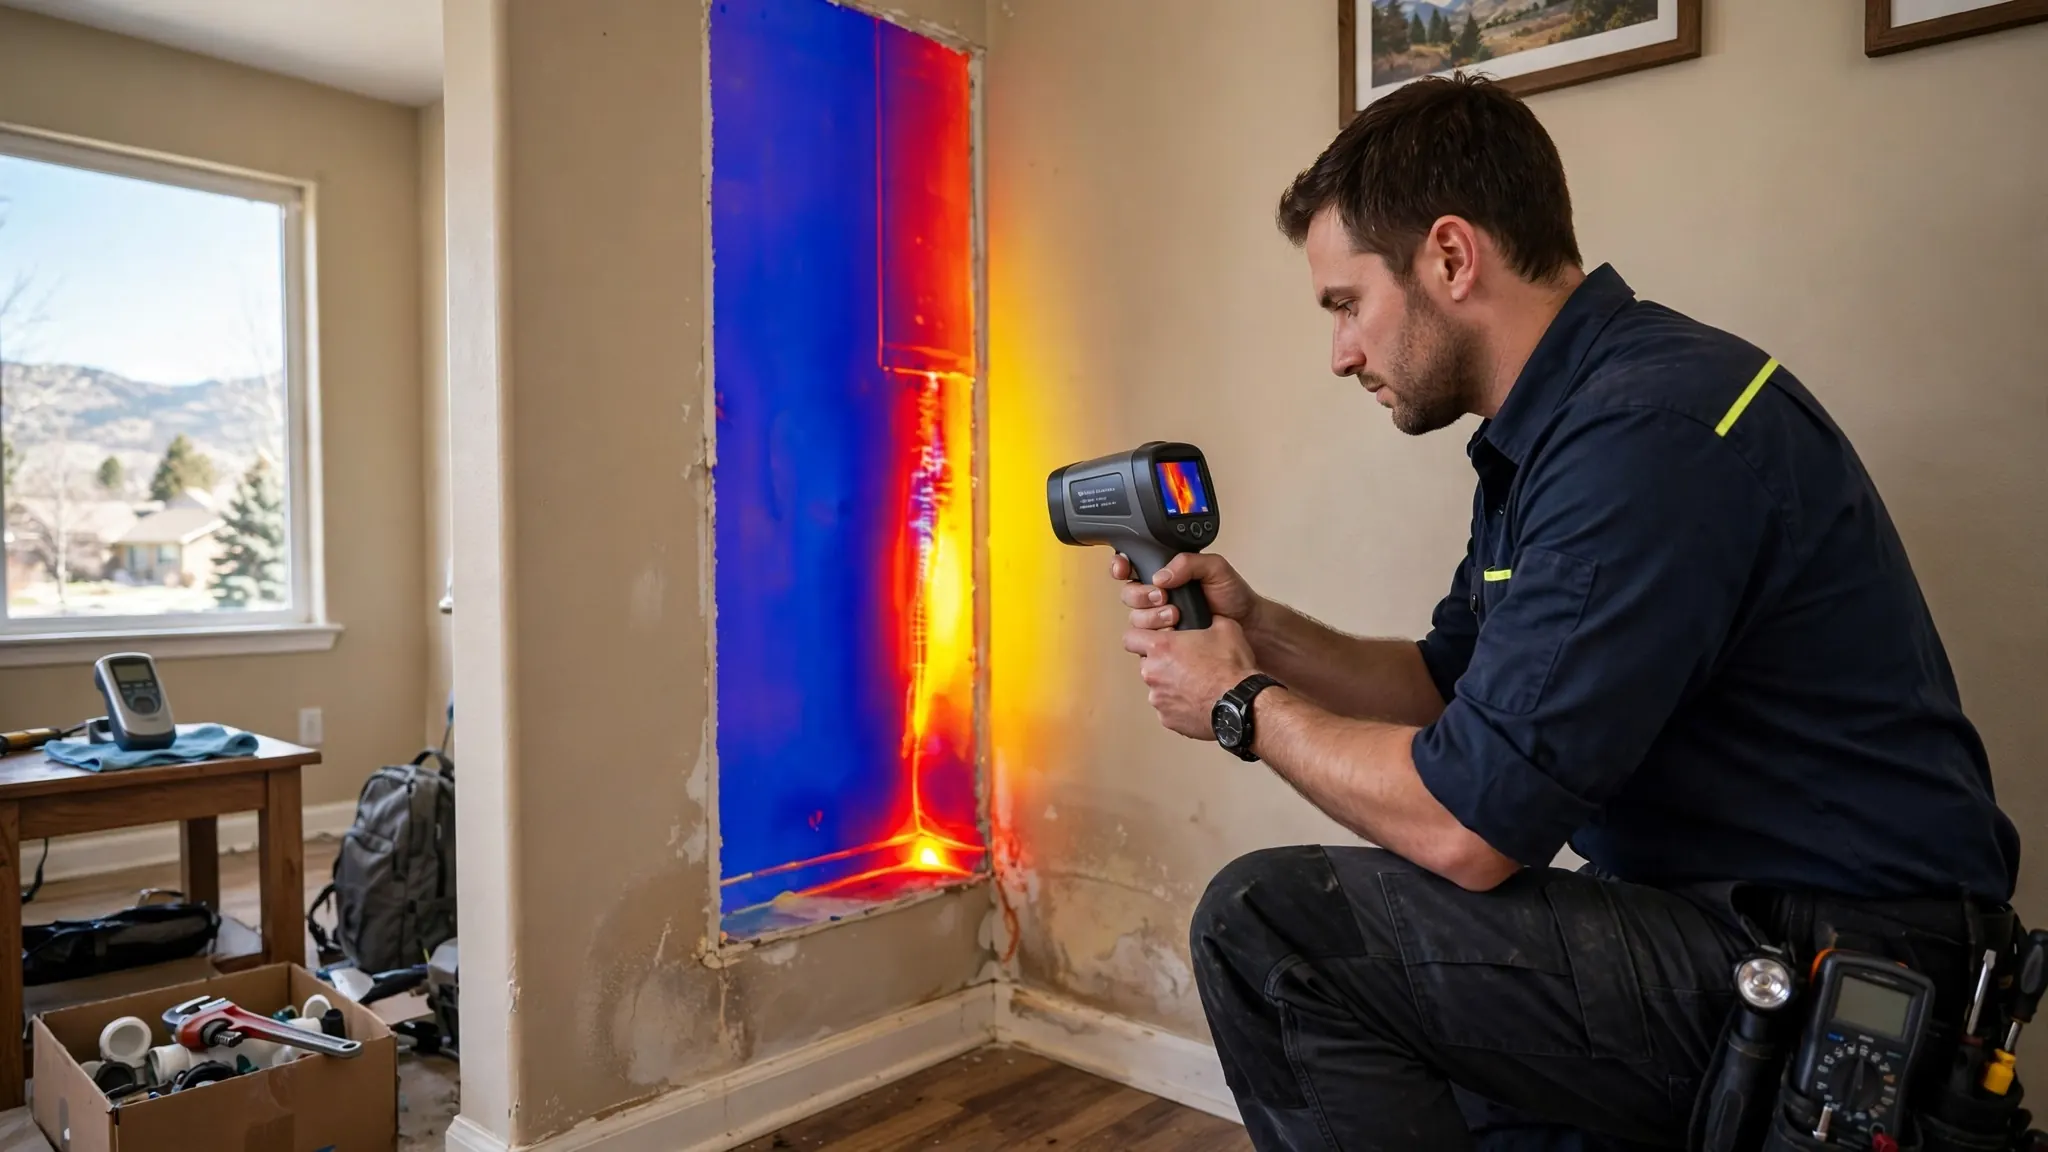
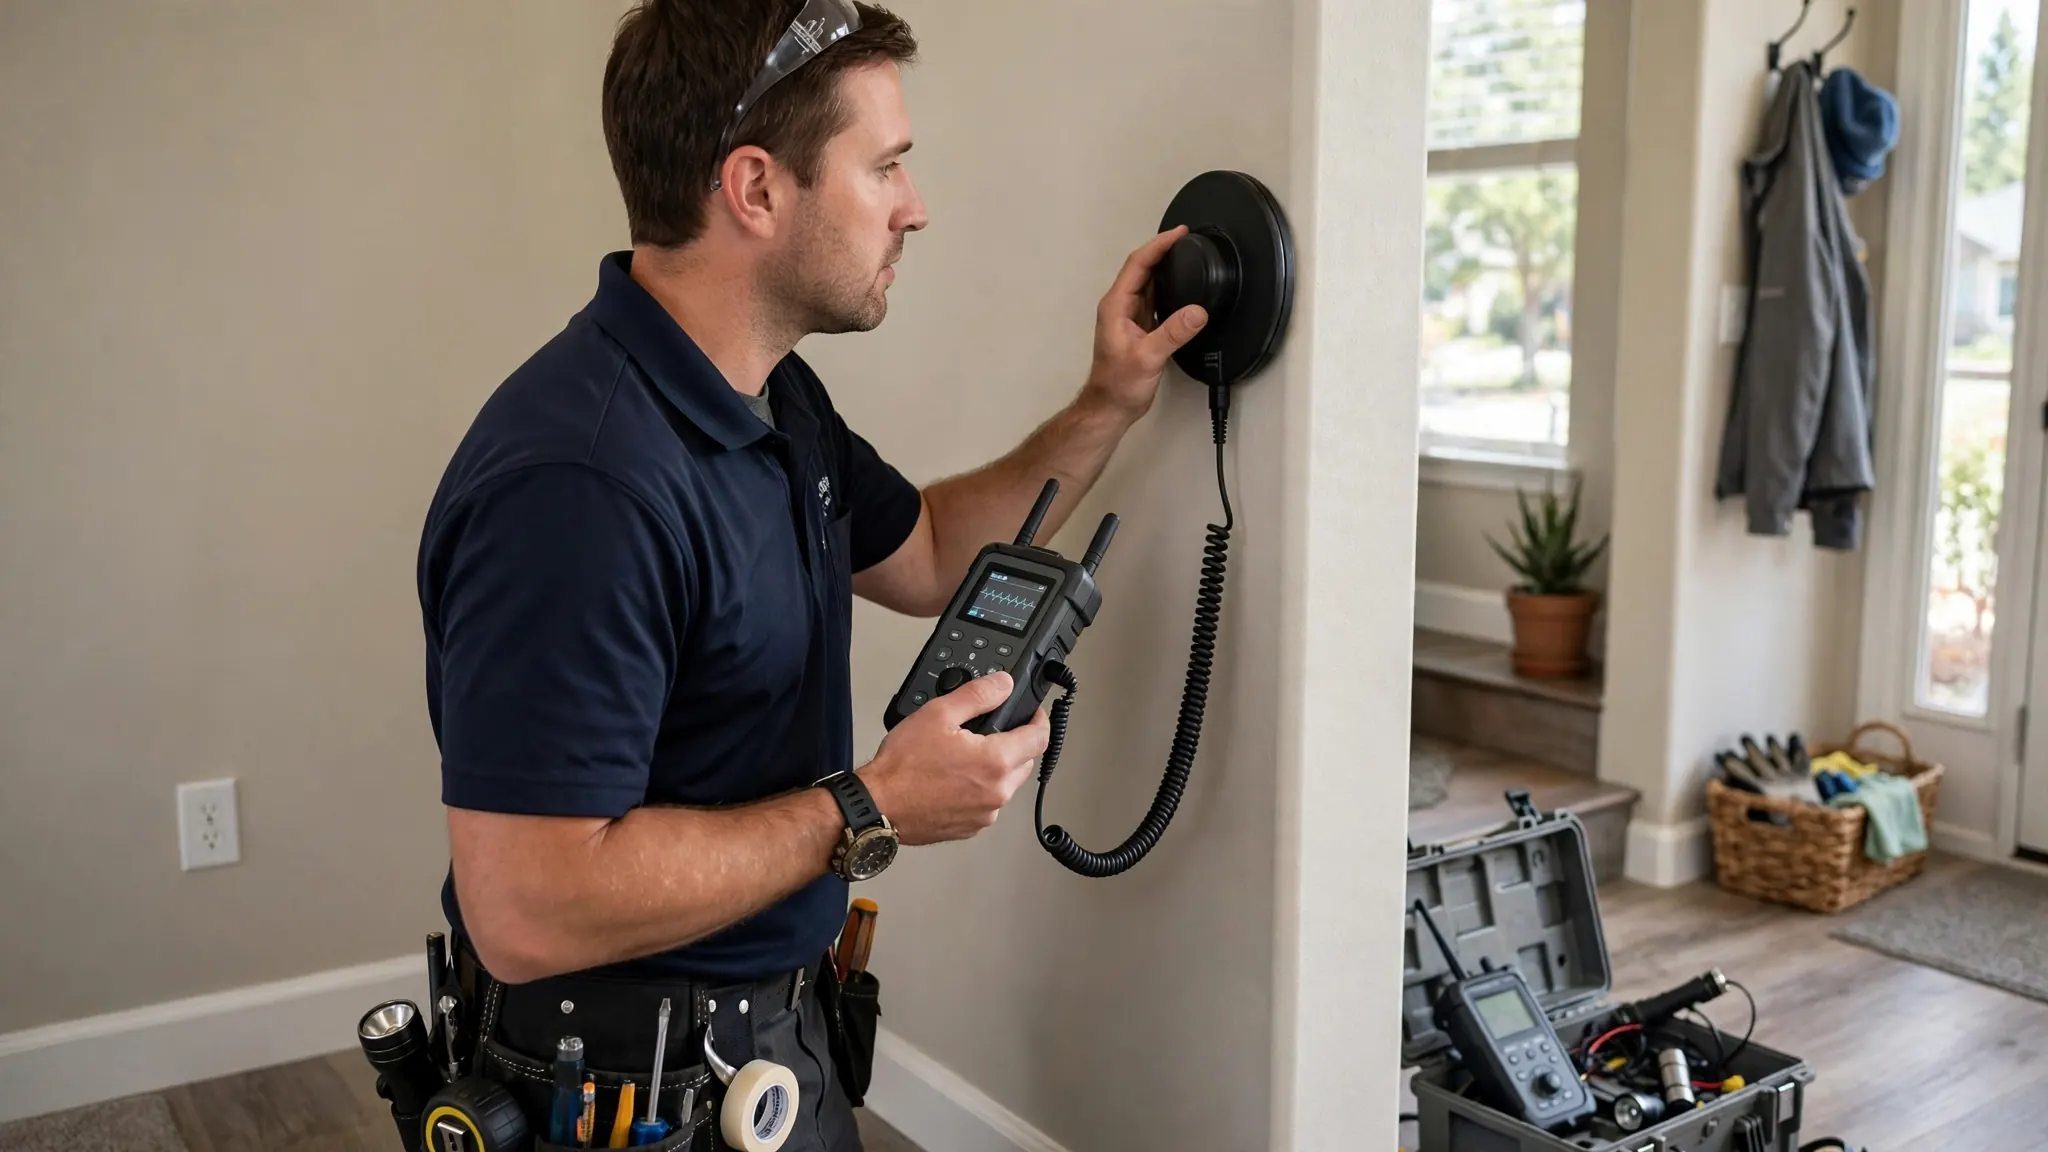
- Diagnostic readings. Acoustic findings, thermal images showing the leak's thermal signature, pressure test results, moisture meter readings mapping the water's spread. These are the objective measurements behind the conclusion.
- Dated photographs. The damage, the source area, the extent of spread — all timestamped. Phone photos are fine; what matters is that they're dated and comprehensive. Photograph wider than you think necessary.
- The written detection report. A professional report tying it together: what was tested, what was found, where, and the technician's assessment of the timeline. Our guide to what a detection report includes details every element.
- Your discovery and response timeline. When you first noticed symptoms, what you did (shut off water, called for detection), and when. Prompt action after discovery strengthens any claim.
- Mitigation receipts. Emergency plumbing, water extraction, drying equipment — every dollar spent limiting the damage, documented. Insurers expect you to mitigate; receipts prove you did.
This package answers the adjuster's questions before they're asked: what happened, where, when, and what you did about it. Homeowners who arrive with this file get fundamentally different claim experiences than those who arrive with a verbal account.
The day you discover water damage, start a digital folder: photos, the detection report, every receipt, and a running timeline note. Adjusters notice organization — a complete file signals a credible, well-documented claim and speeds every decision downstream.
Working With Your Adjuster
Adjusters aren't adversaries — they're evaluators working from evidence under policy constraints. Your job is to make evaluation easy:
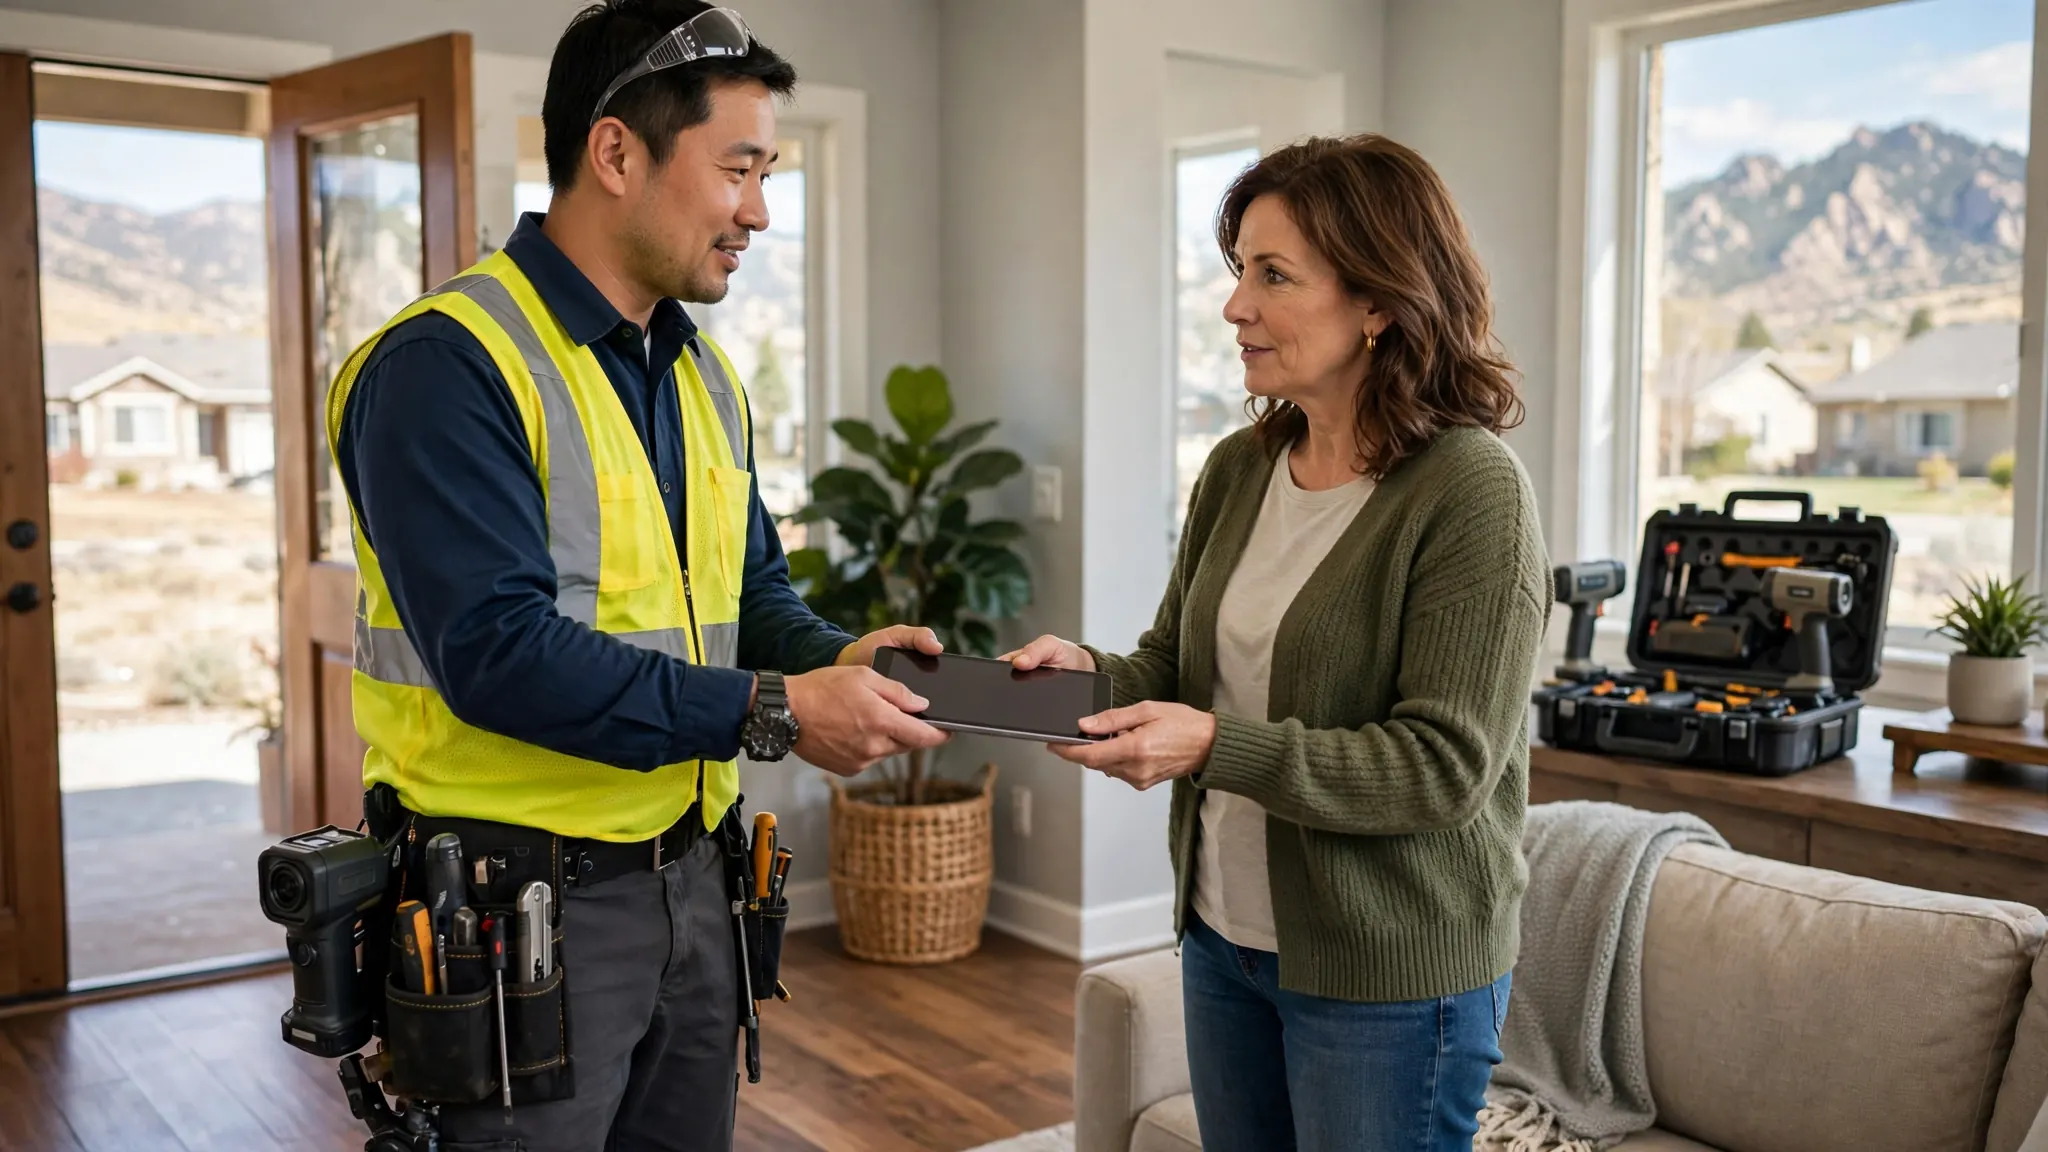
- Lead with the documentation package. Hand over the detection report, photos, timeline, and receipts at the start, not piecemeal over weeks. A complete file up front sets the tone for the whole claim.
- Ask what else they need. Rather than waiting for requests, ask directly: "What additional evidence would help you evaluate this?" Then provide it promptly. Responsiveness builds credibility.
- Keep communication in writing. After phone calls, send a brief email summarizing what was discussed and agreed. Paper trails protect everyone.
- Don't authorize permanent repairs before the adjuster's inspection — unless emergency mitigation requires it. The adjuster needs to see the damage as found; premature repairs can complicate evaluation. If you must repair urgently, document exhaustively first.
- Ask about the diagnostic visit's treatment. Coverage for the detection cost itself varies by policy — ask your adjuster directly rather than assuming either way.
The through-line: organized, factual, responsive. That's the homeowner profile that gets claims resolved rather than prolonged.
What To Do Before The Adjuster Arrives
The period between discovery and the adjuster's visit is where claims are won or lost. Do this:
- Stop the water and mitigate further damage — shut off the supply, protect undamaged areas, extract standing water. Mitigation is both common sense and a policy expectation.
- Photograph everything first. Before cleanup, before mitigation, before anything moves — photograph the damage as discovered. Then keep photographing through each step.
- Get professional detection promptly. The report's dated findings establish the factual record. Delay here creates a gap the adjuster will question.
- Preserve evidence. Don't discard damaged drywall, flooring, or the failed component itself until the adjuster has seen them (or explicitly releases them). Bag and label the failed part if it's removed during emergency repair.
- Don't over-clean the scene. Thorough cleanup before documentation erases the evidence of extent. Clean for safety and mitigation, not for appearances.
Every one of these steps serves the same purpose: when the adjuster arrives, the story of what happened is told by evidence, not by memory.
When Detection Comes First, Repair Second
The order of operations matters for claims: detection and documentation come before permanent repair. This isn't just about the adjuster's inspection — it's about establishing causation. A repair completed before the source is professionally documented leaves the claim's central question (what failed, and how) answered only by whoever did the repair. An independent detection report, produced before the repair, establishes the facts separately from the fix.
In practice, the sequence looks like this: discover and mitigate, document with photos, get professional detection with a written report, file the claim with the package, await the adjuster's inspection, then proceed with repair. Emergency stabilization — capping a line, isolating a section — fits naturally into the mitigation step and doesn't compromise the sequence. What the sequence avoids is the all-too-common alternative: repair first, document never, and a claim built on "trust us, there was a leak." For high-bill situations and slab leaks alike, the detection report is the document everything else stands on.
Starting from a high bill? confirming the leak first with the meter test comes first, and picking the right documenter helps you choose who inspects.